
Welcome to the World of DIY Weightlifting Platforms 🏋️♀️
Ever dreamt of having your very own home gym platform? A sanctuary where you can lift and grunt to your heart's content? Well, you're not alone. In fact, building a weightlifting platform for your home gym is not just a powerlifter's dream, but a game-changer for anyone serious about their fitness journey.
Imagine the freedom of setting your own workout schedule, the convenience of not waiting for gym equipment, and the comfort of blasting your favorite music while doing your sets. A DIY weightlifting platform offers all these perks and more. But beyond these, it's a statement of commitment to your fitness goals, a tangible sign that you're playing for keeps.
But why a platform, you might wonder? Simple. It provides a stable and safe foundation for your lifts, protecting both you and your floors. So, ready to build your weight lifting platform? Here's a guide to help you get started. And remember, safety first! Check out these weightlifting safety tips before you start.
Your DIY Toolbox: Gathering Essentials for Your Weightlifting Platform
Before we dive into the nitty-gritty of building your weightlifting platform, let's gather the necessary tools and materials. You'll need two 4x8 feet plywood sheets for the base, a 4x8 feet rubber mat for the top, wood screws, wood glue, and a drill. These materials will form the backbone of your homemade gym equipment, ensuring a sturdy and safe weightlifting setup.
Wondering why plywood? Its strength and durability make it an ideal choice for a weightlifting platform. The rubber mat, on the other hand, provides a non-slip surface, crucial for weightlifting safety. And remember, a good drill can be your best friend in this project. You might be thinking, "Where do I get these tools and materials?" Don't worry! Most of these can be found at your local hardware store or even online.
Ready to get started? Great! But before you do, it wouldn't hurt to revisit some effective weightlifting strategies or brush up on lifting equipment safety. After all, knowledge is power, especially when it comes to building your weightlifting platform.
Required Tools and Materials for Building Your Weightlifting Platform
- 4x8 Plywood Sheets: These will form the base and top layer of your platform. They provide a smooth, flat surface for lifting and are durable enough to withstand heavy weights.
- 4x6 Stall Mats: These rubber mats will be used on the sides of the platform. They provide a cushioned surface that can absorb the impact of dropped weights, protecting both your weights and your floor.
- Wood Screws: You'll need these to secure the layers of plywood and mats together. Make sure they are long enough to go through multiple layers of material.
- Drill: This tool is used to drive the screws into the plywood and mats. It makes the process faster and easier than using a screwdriver.
- Utility Knife: This will be used to cut the stall mats to fit your platform. Ensure it's sharp for a clean cut.
- Measuring Tape: You'll need this to measure the plywood and mats, ensuring they are the correct size for your platform.
- Wood Glue: This is optional, but it can provide extra stability and strength to your platform. Apply it between the layers of plywood before screwing them together.
- Sandpaper: This is used to smooth any rough edges on the plywood, preventing potential injuries while lifting.
- Sealant or Varnish: This is used to protect the top layer of plywood from moisture and wear. It also gives your platform a finished, professional look.
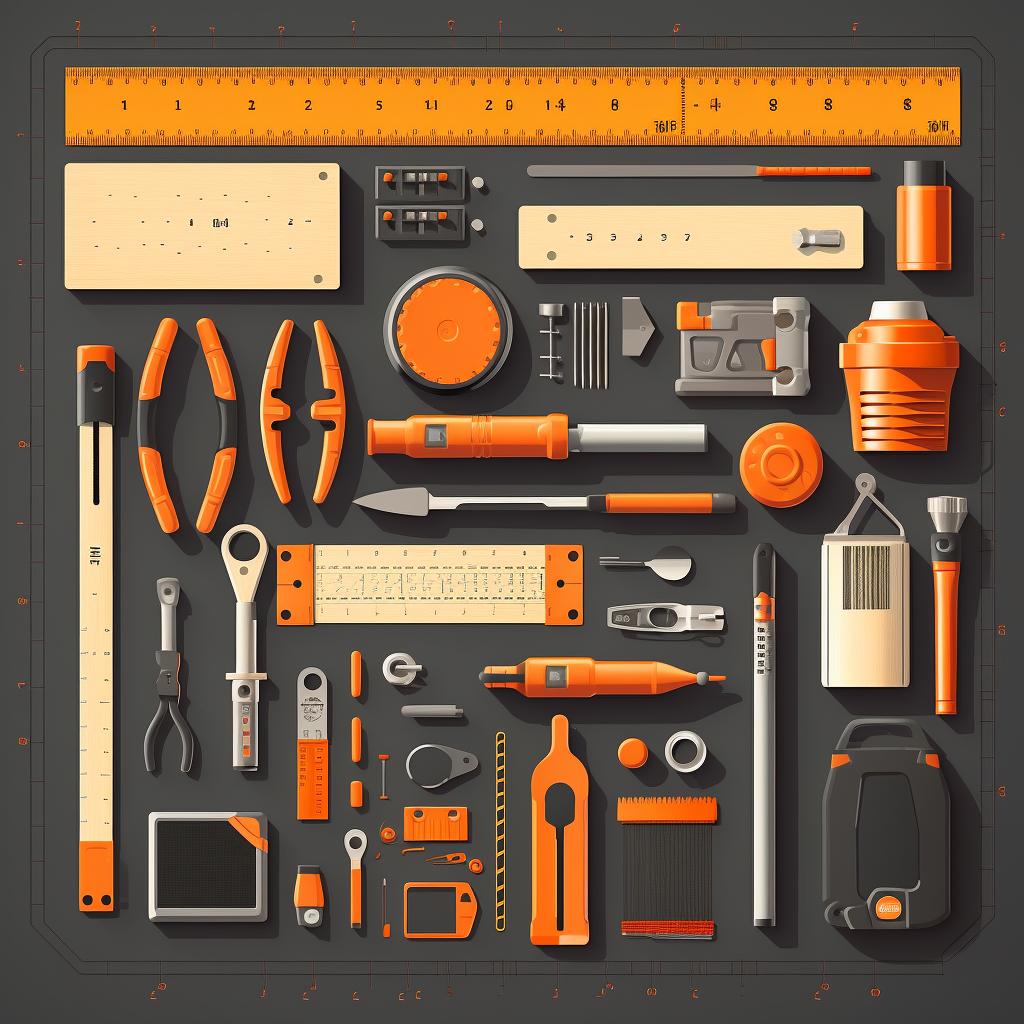
To complete your weight lifting platform, you will need a reliable tool kit for your DIY project. We recommend the WISEUP Tool Set for Men and Women Heavy Duty. This comprehensive tool kit is perfect for home repairing, DIY projects, and woodworking. It comes with a 10-inch wide mouth open storage bag, making it easy to organize and carry your tools. With this tool kit, you'll have everything you need to build your weight lifting platform.
Before You Begin: Prepping Your Space for a Home Gym Platform
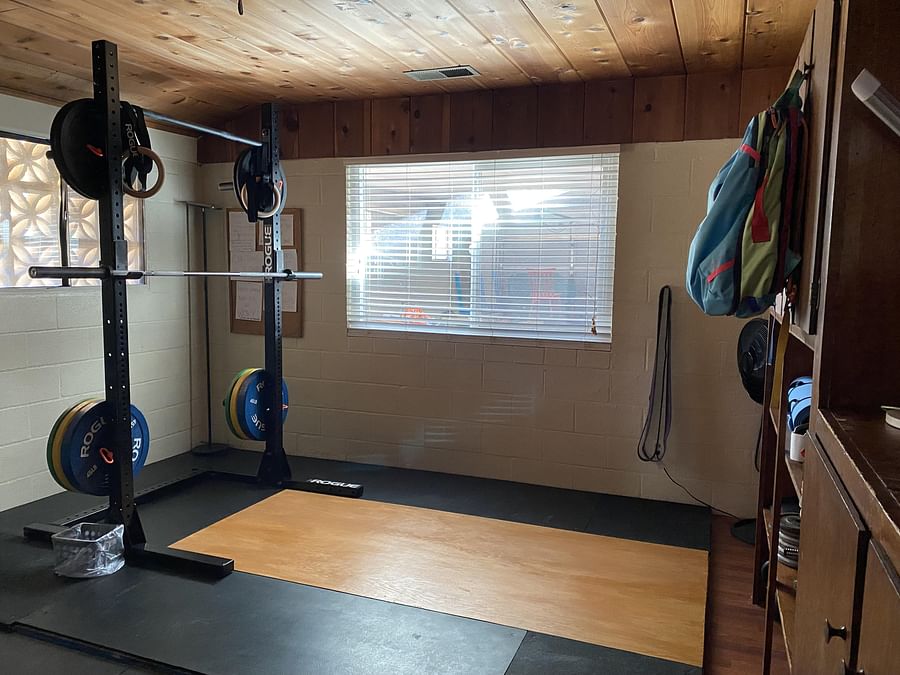
Now that you're all geared up to embark on this DIY journey, let's first prepare your space. Remember, a solid foundation is key to building a sturdy weightlifting platform. Start by clearing a space of about 8'x8' in your home. Ensure the area is free of clutter and potential hazards. This will be the stage for your future weightlifting triumphs.
Next, gather your materials. You'll need plywood sheets, stall mats, screws, and a reliable toolkit. Don't have a toolkit yet? No worries, we've got you covered. Check out this recommended toolkit perfect for DIY projects.
Lastly, arm yourself with safety gear. Remember, safety is paramount in weightlifting, and that extends to building your weightlifting platform. So, get your safety goggles, gloves, and a sturdy pair of shoes ready. Ready to lift off? Let's start building!
Now that we have all our tools and materials ready, let's prepare the space for our weightlifting platform.
Preparing Your Space for the Weightlifting Platform


Learn more about 🏋️ Preparing Your Space for the Weightlifting Platform or discover other Club Lifted guides.
With the area prepared, we're now ready to start building our weightlifting platform. Let's get to it!
Step-by-Step: Crafting Your Homemade Gym Equipment
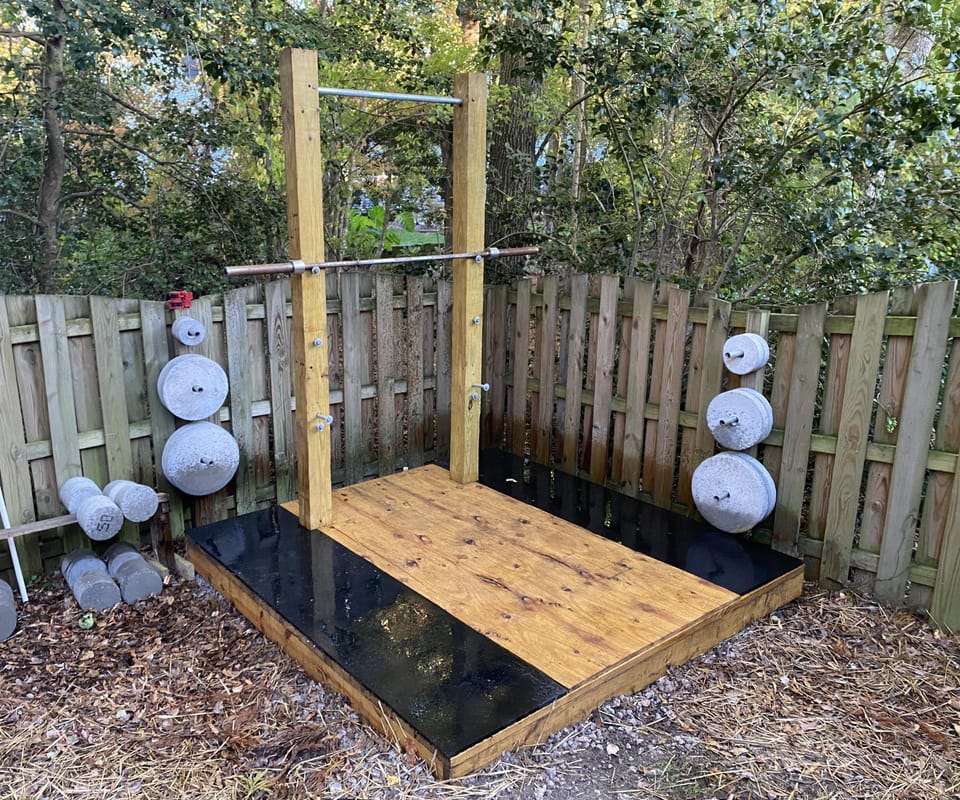
Ready to flex your DIY muscles and start building your weight lifting platform? Let's dive into the nitty-gritty. First, grab your 4x8 plywood sheets; these will be the base of your platform. You'll need two sheets for the bottom layer and one for the top. The rubber mats come next; they'll provide the side areas where you'll drop the weights. Got your wood screws and drill ready? You'll need them to secure everything together.
Start by laying down the two plywood sheets side by side on your chosen spot, ensuring they're perfectly aligned. Now place the third sheet in the center of these two, creating a sandwich effect. Next, position your rubber mats on the exposed plywood on each side. Make sure they're snug against the center board. Now, it's time to secure everything. Using your drill, attach the top plywood and rubber mats to the bottom layer with your wood screws.
Remember, a well-built platform not only improves your weightlifting technique but also ensures safety. So, take your time, follow the steps, and soon you'll have a sturdy, homemade gym equipment that's ready for action. Ready to lift?
Understanding the Steps to Build Your Own Weight Lifting Platform
Test your understanding of the steps involved in building your own weight lifting platform. Choose the most appropriate answer for each question.
Learn more about 🏋️ Build Your Own Weight Lifting Platform: Steps, Materials, and Safety 🛠️ or discover other Club Lifted quizzes.
Safety First: Ensuring a Risk-Free Weightlifting Setup
Building your own weightlifting platform can be a rewarding experience, but safety should always be your top priority. From the construction phase to the first deadlift, every step needs careful consideration to prevent injuries. So, what are the key safety measures to remember?
Firstly, always wear protective gear like gloves and safety glasses when building your homemade gym equipment. Secondly, ensure your platform is stable before you start lifting. A shaky platform can lead to serious accidents. Lastly, when you're ready to lift, always use proper weightlifting techniques. A wrong move can cause strain or injury, so it's crucial to lift safely.
Remember, a safe weightlifting environment is just as important as the workout itself. So, before you jump into your new home gym platform, make sure you've got safety covered.
Before we move on to the finishing touches of your DIY project, let's address some common questions you might have about the safety and durability of your homemade weightlifting platform.
Now that we've covered some common queries, let's proceed to the final steps of your DIY weightlifting platform project.
What's Next? Post-Construction Steps for Your DIY Weightlifting Platform
Now that you've constructed your DIY weightlifting platform, it's time to add the finishing touches. Start by cleaning the area around your new home gym platform. Sweep away any debris and wipe down the surface of your platform to ensure it's spotless. This is not just for aesthetics, but also a crucial step in maintaining weightlifting safety.
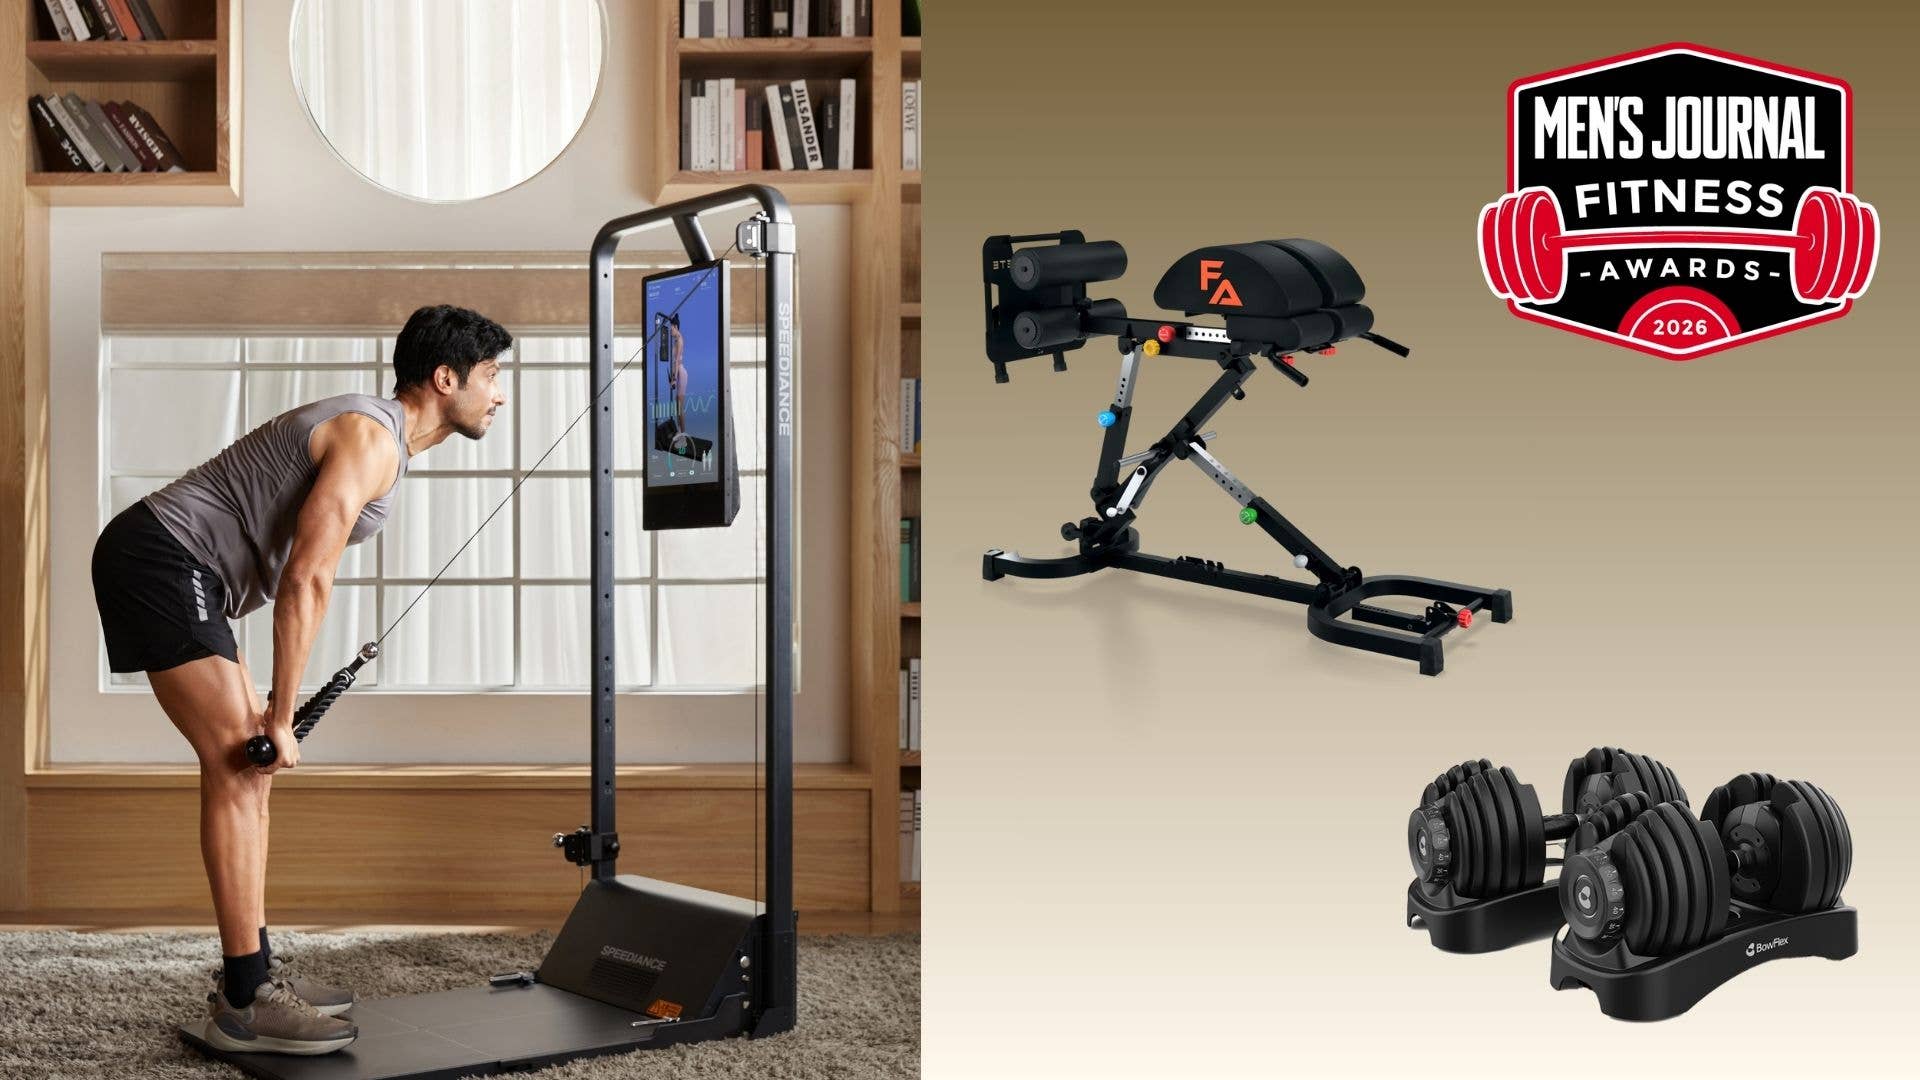
Next, consider adding some homemade gym equipment. Why not create a custom rack for your weights or a holder for your weightlifting accessories? Remember, this is your space - make it work for you.
Finally, it's time to get lifting. Start slow, focusing on your form and technique. For tips on improving your lifting techniques, check out our guide. Remember, Rome wasn't built in a day, and neither will your weightlifting prowess. Happy lifting!
Now that you've set up your platform, it's important to ensure everything is in order before you start your workout routine. Here's a checklist to guide you:
Once you've completed all these steps, you're ready to start your weightlifting journey. Remember, consistency is key in achieving your fitness goals. Happy lifting!
Ready to Flex Your Muscles? Your Weightlifting Journey Begins Here!
There's a certain thrill in creating your own space, a personal fortress of strength, isn't there? As you stand on the precipice of this exciting journey, remember this: building your own weightlifting platform is more than just a DIY project; it's the first step towards achieving your weightlifting goals.
Imagine the satisfaction of standing on your homemade gym equipment, knowing it's tailored to your needs. It's a manifestation of your commitment, mirroring the strength and resilience you aim to build within yourself. The benefits of strength training are manifold, but what could be more fulfilling than beginning your journey to power on a platform built by your own hands?
So, ready to transform your home gym with your own DIY weightlifting platform? Don't just dream it, build it. As you embark on this journey, remember: every bolt tightened, every platform layer added, each weightlifting accessory put in place, contributes to your own unique, empowering weightlifting narrative. Let's get lifting!
Ready to Build Your Own Weight Lifting Platform?
After reading our step-by-step guide, do you feel inspired to build your own weight lifting platform? Let us know!

No comments yet. Be the first to share your thoughts!