

Choose the right lifting belt
A lifting belt is a tool for stability, not a crutch. Its primary function is to increase intra-abdominal pressure, giving your core a solid wall to brace against during heavy lifts. Selecting the correct belt depends on the type of movement you perform and the level of support you need. Using the wrong belt can restrict mobility or fail to provide adequate protection.
The two main categories are nylon and leather belts. Nylon belts are flexible, lightweight, and easy to adjust. They are ideal for dynamic movements like Olympic weightlifting, cross-training, or high-repetition bodybuilding where you need a full range of motion. Leather belts are stiff and durable. They offer maximum support for maximal efforts in powerlifting, strongman, or heavy deadlifts, but they require a break-in period and are less comfortable for cardio or jumping exercises.
Comparison of Belt Types
| Feature | Nylon Belt | Leather Belt |
|---|---|---|
| Best For | Olympic lifting, CrossFit, HIIT | Powerlifting, Strongman, Heavy Squats |
| Support Level | Moderate | Maximum |
| Flexibility | High | Low |
| Durability | Good (requires frequent washing) | Excellent (lasts decades) |
| Adjustability | Easy (velcro) | Fixed (prong or lever) |
Top-Rated Lifting Belts
Choosing a specific model comes down to fit and personal preference. Below are some highly regarded options across different categories to help you find the right fit for your training style.


As an Amazon Associate, we may earn from qualifying purchases.
Secure Your Wrists With Proper Straps
Wrist wraps and lifting straps are not shortcuts; they are structural supports that protect your joints when the load exceeds your grip or joint stability. Wraps provide compression and proprioceptive feedback for overhead presses and heavy squats, while straps transfer the load from your forearms to your torso during deadlifts and rows. Using them incorrectly can restrict blood flow or create false confidence in unstable joints.
Slide your thumb through the loop at the end of the wrap. Place the padded section directly over the wrist joint, ensuring the elastic covers the carpal tunnel area. This placement anchors the support exactly where compression is needed most during heavy presses.
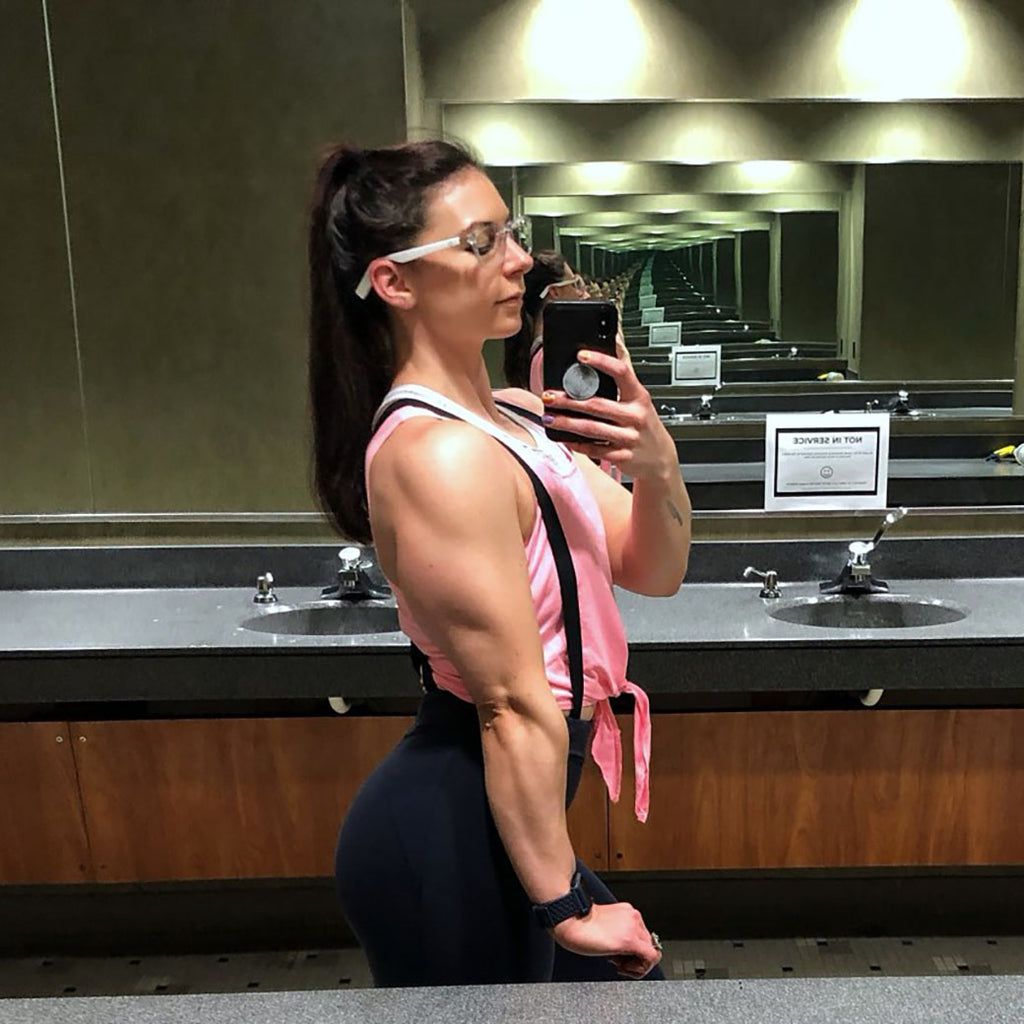
Wrap the material tightly around the wrist, rotating your hand slightly with each pass to create a spiral effect. This rotation ensures the wrap bites into the joint without creating a tourniquet effect. Maintain consistent tension—tight enough to stabilize, but loose enough to allow blood flow.
Once you have wrapped the wrist two to three times, pull the remaining length through the final loop or hook-and-eye closure. The wrap should feel snug and supportive, not painful. If you feel tingling or numbness in your fingers, remove the wraps and reapply with less tension.
For pulling movements, switch to lifting straps. Loop the strap around the bar, then wrap it around your palm. This mechanical advantage takes the load off your grip muscles, allowing you to focus on driving with your back and legs rather than holding on.
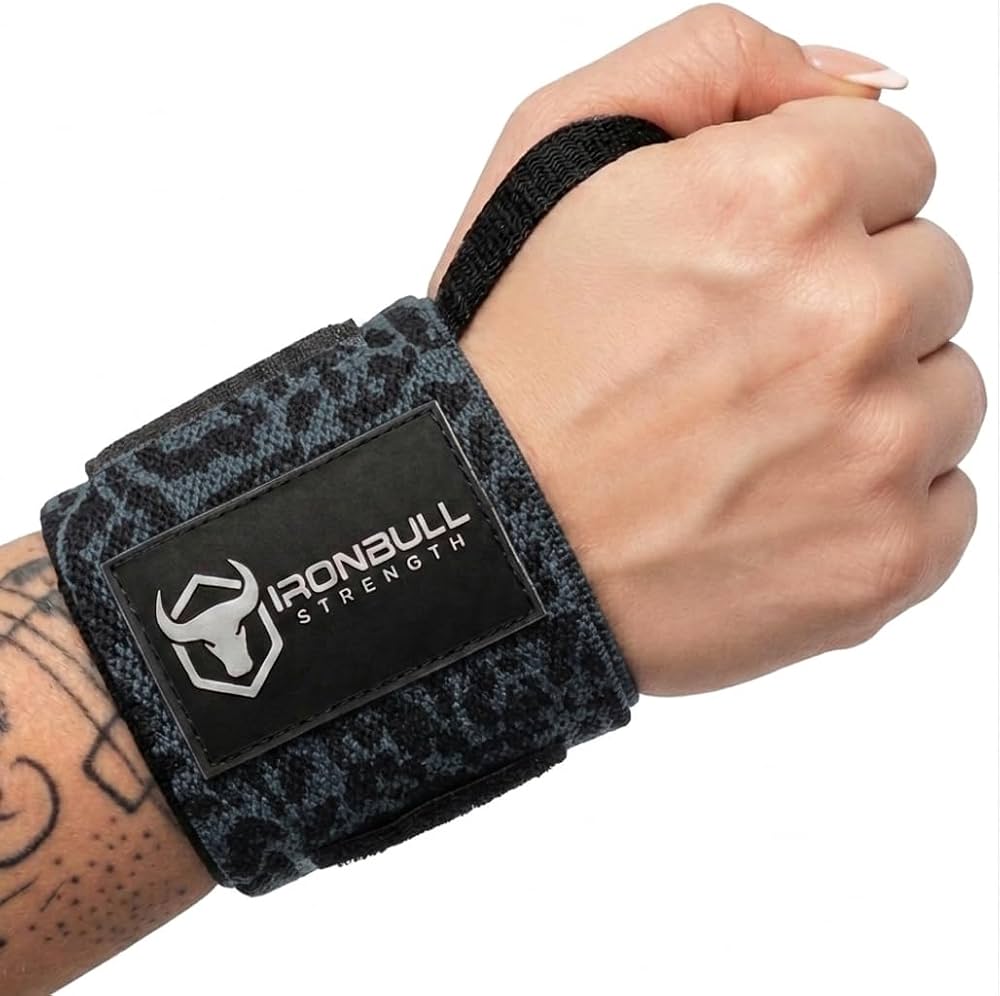
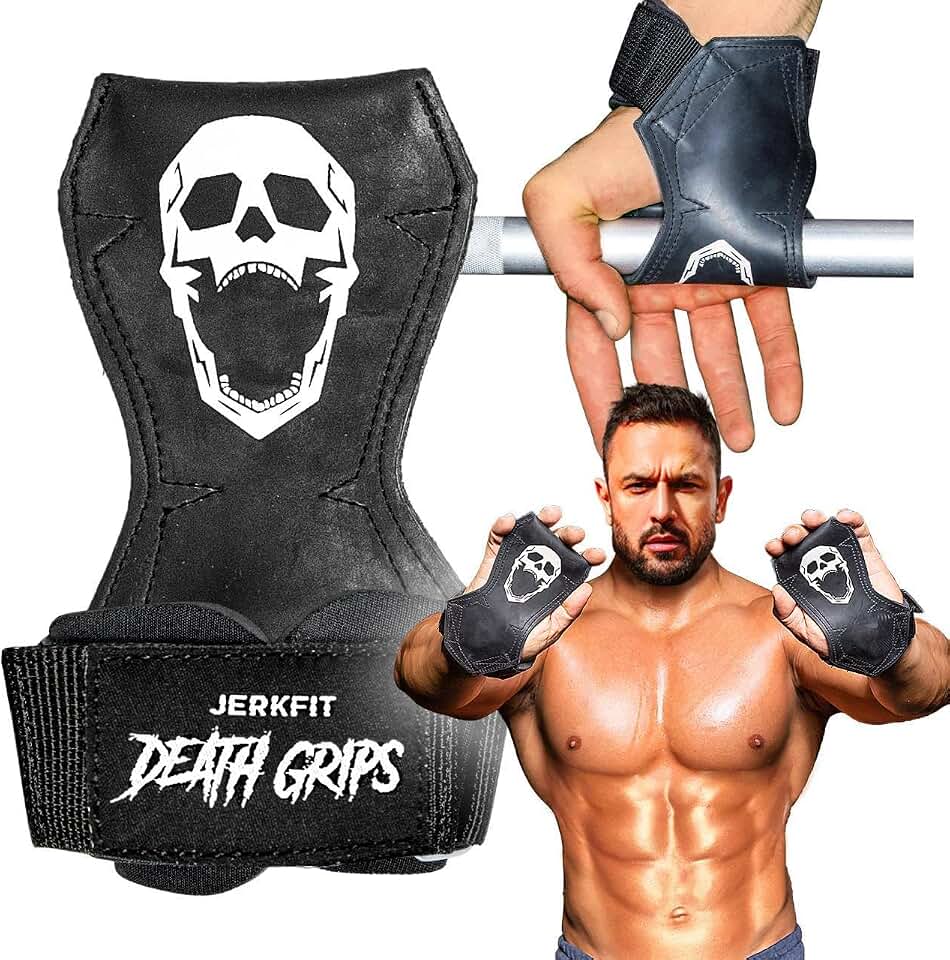
As an Amazon Associate, we may earn from qualifying purchases.
Always prioritize natural wrist strength first. Use wraps and straps for your heaviest working sets only, ensuring your joints remain resilient without external support for lighter, high-rep work.
Protect your grip for heavy pulls
Your grip is the weak link in your posterior chain. You can have the legs of a bodybuilder and the back of a powerlifter, but if your hands fail before your target muscles, the lift is over. For heavy deadlifts, cleans, and rows, specialized grip gear isn't about cheating; it's about ensuring your working muscles actually receive the stimulus you intended.
Lifting straps for posterior chain isolation
Straps are the primary tool for extending volume on pulling movements. They bypass the grip limitation, allowing you to push your hamstrings and lats to failure without worrying about your hands slipping off the bar. Use them on your top sets or high-rep back work where grip fatigue would otherwise truncate your set. Avoid straps on warm-up sets or lighter singles where you want to maintain raw grip endurance.
Chalk for dry, secure contact
When straps aren't appropriate or you need raw friction for lighter loads, chalk is the standard. Magnesium carbonate absorbs sweat and reduces the coefficient of friction between your skin and the knurling. This is essential for cleans and snatches where a slip can result in injury or a missed rep. Keep a chalk bag accessible at the base of the platform to maintain dry hands throughout your session.
Choosing the right gear
Selecting the correct equipment depends on the lift and your specific grip weaknesses. For heavy deadlifts, thick cotton or nylon straps provide the most security. For Olympic lifts, thin straps or chalk are preferred to maintain bar feel and wrist mobility. Below are common options to consider for your training setup.


As an Amazon Associate, we may earn from qualifying purchases.
When to skip the gear
Don't rely on straps or chalk for every set. Your grip is a muscle that needs strengthening. Use raw grip for your warm-up sets, lighter accessory work, and exercises where grip stability is the primary goal, such as farmer's carries or plate pinches. Reserve straps for your heaviest working sets on deadlifts and rows, and save chalk for technical Olympic lifts where sweat is the main enemy.
Check your footwear for stability
Your shoes act as the interface between your body and the ground. In lifting, that connection determines how efficiently force transfers from your legs into the bar. Wearing soft, squishy running shoes creates an unstable platform, wasting energy and increasing injury risk. Instead, you need footwear that matches the specific demands of your lift.
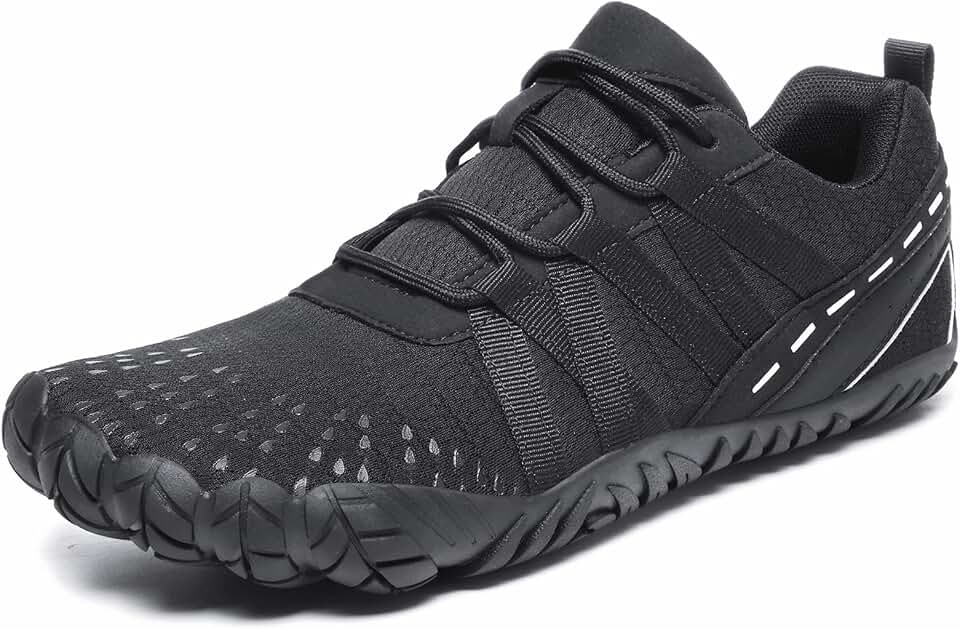
Flat-soled shoes and weightlifting shoes serve different purposes. Flat shoes offer a stable, low-to-the-ground base ideal for heavy squats and deadlifts. Weightlifting shoes feature a raised, rigid heel to improve ankle mobility for Olympic lifts. Choosing the wrong pair compromises your form and safety.
| Feature | Flat Shoes | Weightlifting Shoes |
|---|---|---|
| Sole Type | Thin, flat rubber | Rigid, elevated heel |
| Best For | Squats, Deadlifts | Snatch, Clean & Jerk |
| Stability | High ground contact | Heel elevation for mobility |
| Cushioning | Minimal to none | None (rigid base) |
Select footwear based on your primary movement. If you focus on powerlifting, prioritize flat, hard-soled trainers. For Olympic lifting, choose shoes with a raised heel to accommodate deeper squat positions. The right pair keeps your balance secure and your force output direct.


As an Amazon Associate, we may earn from qualifying purchases.
Verify gear fits before heavy loads
Before you add the final plates to the bar, treat your gear check like a pre-flight inspection. A loose strap or misaligned belt can turn a heavy lift into a dangerous slip. This final verification ensures that every piece of equipment is locked in, providing the stability you need for max effort attempts.
Tighten your lifting belt and knee sleeves before stepping onto the platform. The belt should sit snugly against your core without restricting breathing, while knee sleeves must stay in place during deep squats. If you have to readjust mid-set, the fit is wrong.
Ensure wrist wraps are wrapped tightly around the joint, not just the forearm. They should prevent excessive backward bending without cutting off circulation. For elbow sleeves, verify they cover the joint fully and don’t slide down during the press or squat phase.
Pull on your lifting shoes to confirm they are secure and the sole is flat. Check that your chalk is evenly distributed on your hands and that any lifting straps are threaded correctly. A slippery grip or unstable shoe foundation compromises your entire lift.
Taking these seconds to verify your setup pays off in safety and performance. If any component feels loose or uncomfortable, stop and adjust before adding more weight.


As an Amazon Associate, we may earn from qualifying purchases.
Common questions about lifting gear
The term "lift club" often causes confusion because it appears in two very different contexts. In the gym, it refers to a session or community focused on resistance training. In automotive circles, it describes suspension upgrades for golf carts. For your safety and technique, this article focuses strictly on the fitness equipment used to enhance your workouts.
No comments yet. Be the first to share your thoughts!