

Start with proper form
Technique precedes weight. Before loading the bar, you must establish a movement pattern that your body can repeat safely. Prioritizing form over load prevents injury and builds the neuromuscular efficiency needed for long-term strength gains.
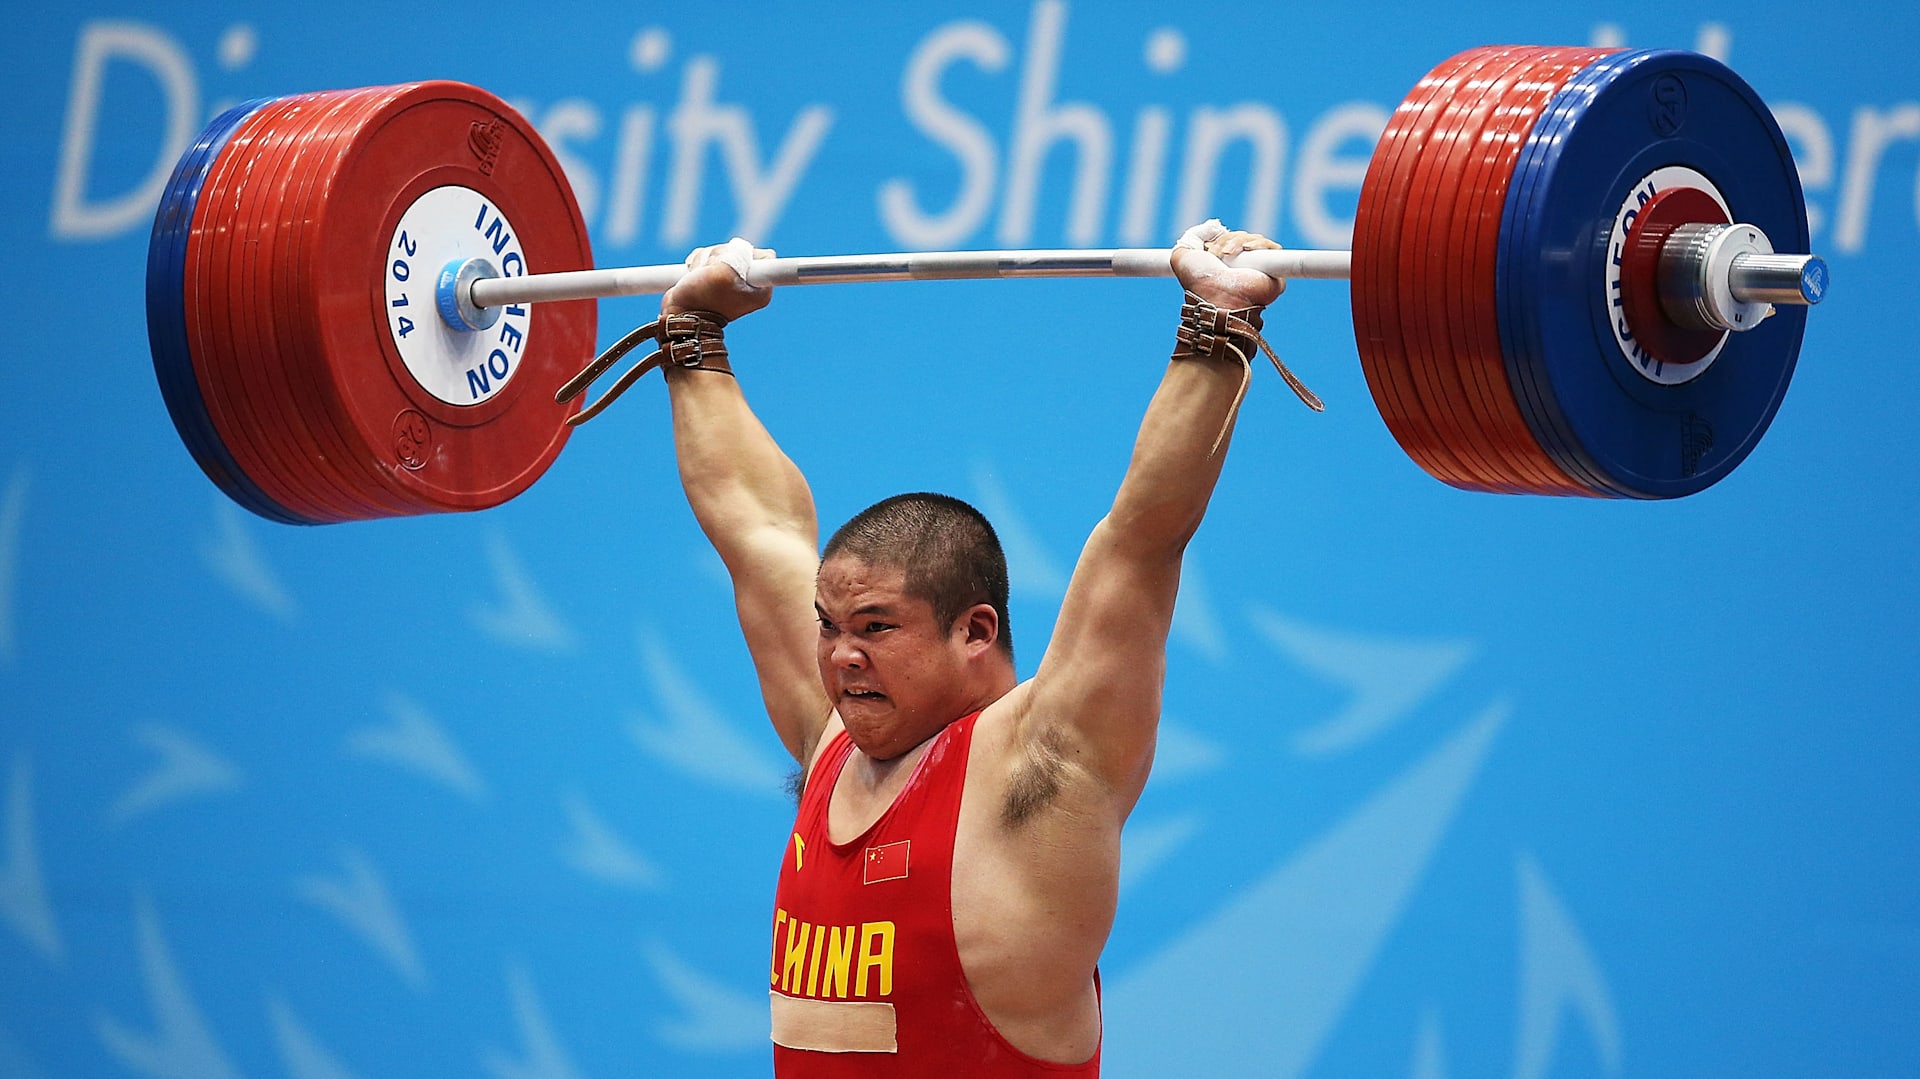
Begin with the barbell alone or a light PVC pipe. This removes the variable of heavy resistance so you can focus entirely on joint alignment and bar path. The goal is to ingrain the correct movement pattern without the fear of dropping the weight or compromising posture.
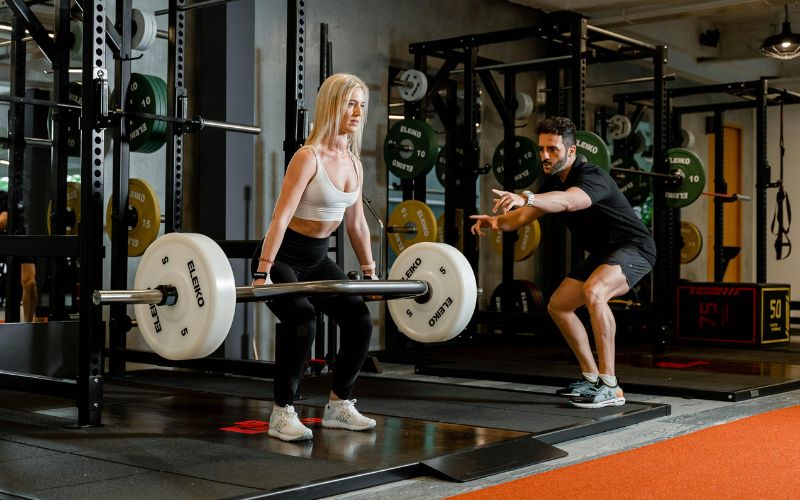
Lower the weight slowly and with intent. The eccentric phase—the lowering portion of a lift—is where most muscle damage and growth occur, but it also requires the most stability. Rushing this phase turns the exercise into a bounce, reducing effectiveness and increasing shear force on your joints.
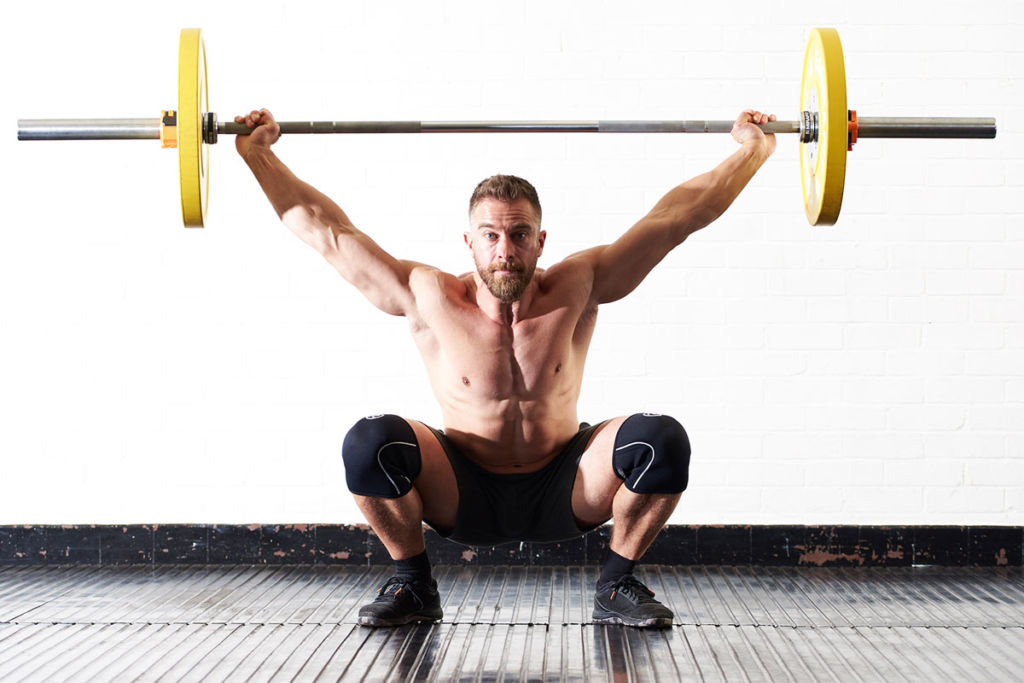
Create intra-abdominal pressure by bracing your abs as if someone is about to punch your stomach. This rigid core acts as a protective corset for your spine during squats and deadlifts. Without this brace, the load travels directly to your vertebrae rather than being distributed through your skeletal structure.
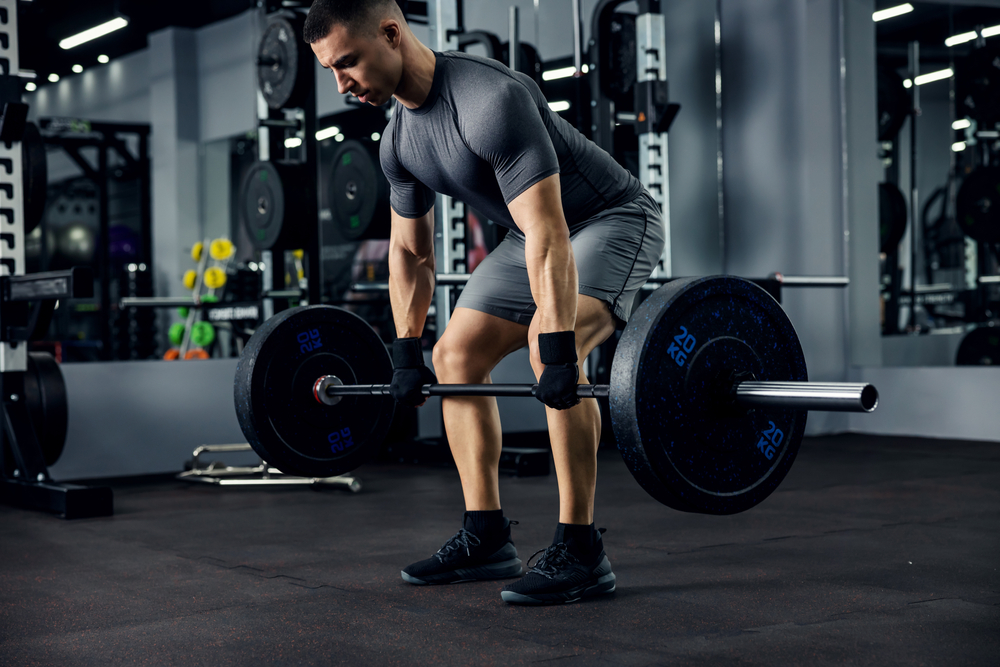
Inhale before you begin the lift and hold it through the exertion. Exhale only after you have passed the sticking point. This Valsalva maneuver helps maintain spinal stability. Proper breathing is not just about oxygen; it is a mechanical tool for generating force and protecting your back.

As an Amazon Associate, we may earn from qualifying purchases.
The Mayo Clinic advises starting with a weight you can lift comfortably 12 to 15 times with perfect form [1]. This range ensures you are building endurance and technique rather than testing your absolute maximum strength. If you cannot complete the reps with good posture, the weight is too heavy. Focus on the quality of the movement, and the strength will follow naturally.
Essential weightlifting accessories
You don't need a warehouse of equipment to build strength, but a few reliable tools can make the difference between a safe workout and a nagging injury. Accessories like lifting straps, belts, and proper footwear act as the foundation for your technique, allowing you to focus on form rather than struggling with grip or stability.
Lifting straps and belts
Lifting straps are simple loops of fabric or leather that wrap around your wrists and the barbell. They take the load off your forearms, which is especially useful for back exercises like deadlifts where your grip often fails before your back muscles do. They aren't a crutch for beginners to use on every lift, but they are a practical tool for high-volume training or when you are pushing heavier loads.
A weightlifting belt provides core support by increasing intra-abdominal pressure. When you brace against the belt during a squat or deadlift, it helps stabilize your spine and protects your lower back. Look for a belt made of stiff leather that fits snugly around your waist, not your hips. Avoid belts that are too loose; they won't provide the necessary resistance for your bracing technique.
Lifting shoes
Your shoes matter more than you might think. Regular running shoes have soft, compressible soles designed to absorb impact, which is the opposite of what you want when lifting heavy weights. A stable base is critical for transferring force efficiently.
Lifting shoes feature a hard, non-compressible sole and often a raised heel. This design keeps you stable under the bar and helps improve ankle mobility for deeper squats. If you don't have dedicated lifting shoes, flat-soled sneakers like Converse or Vans are a better alternative than cushioned athletic shoes.
Recommended gear
The right accessories can support your progress and keep you safe. Below are some top-rated options for straps, belts, and shoes to consider for your setup.


As an Amazon Associate, we may earn from qualifying purchases.
Fix common weightlifting mistakes
Learning proper form is the difference between building strength and getting injured. Most beginners make the same errors: lifting too heavy, holding their breath, or rounding their back. These habits limit progress and increase strain on joints and connective tissue.
Use a weight you can lift comfortably 12 to 15 times to start. This range helps you master the movement pattern before adding load. Focus on clean, controlled reps rather than maxing out immediately.
| Mistake | Correction |
|---|---|
| Rounding the back | Keep spine neutral; hinge at hips |
| Holding breath | Exhale on exertion |
| Lifting too heavy | Use 12-15 rep max weight |
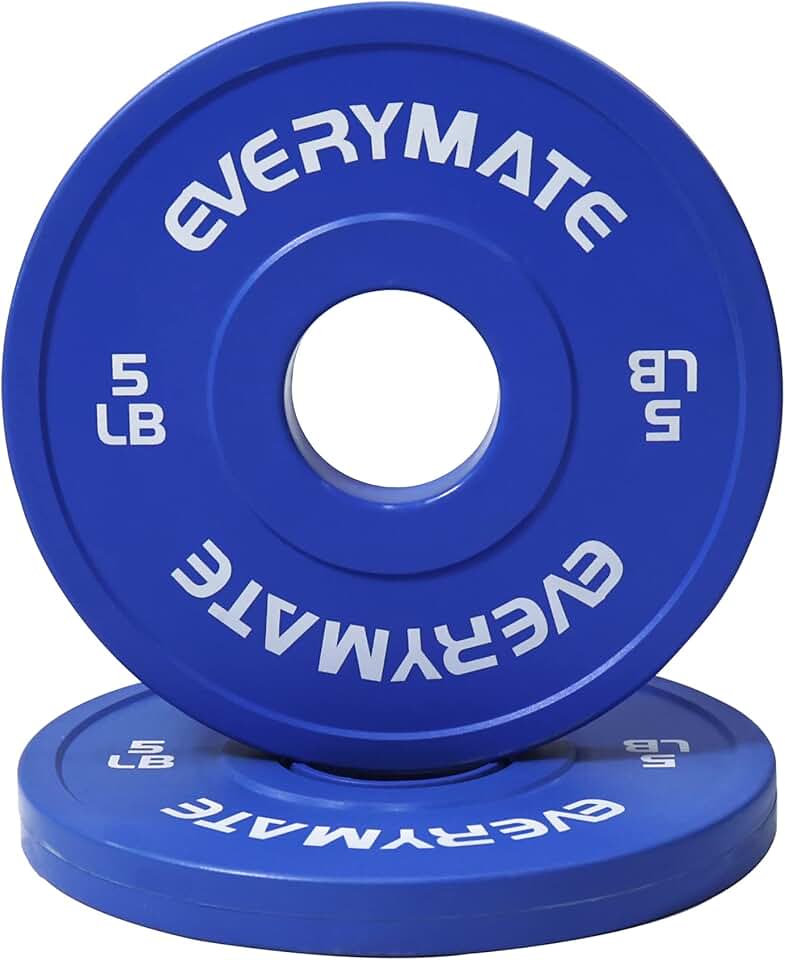
Start with these lighter weights to build muscle memory. Proper technique is the foundation of every successful weightlifting program. For more detailed guidance on weight training do's and don'ts, refer to Mayo Clinic's weight training guidelines.
Build a beginner routine
Starting weightlifting doesn't require a complex periodization plan or a full gym membership. You can build a solid foundation with a simple full-body routine performed two or three times per week. This approach ensures you hit every major muscle group frequently enough to trigger adaptation without overwhelming your recovery systems.
Focus on compound movements—exercises that use multiple joints and muscle groups at once. These lifts, such as squats, deadlifts, and presses, give you the most strength gains for the time invested. Stick to light weights initially to master the technique before adding load.
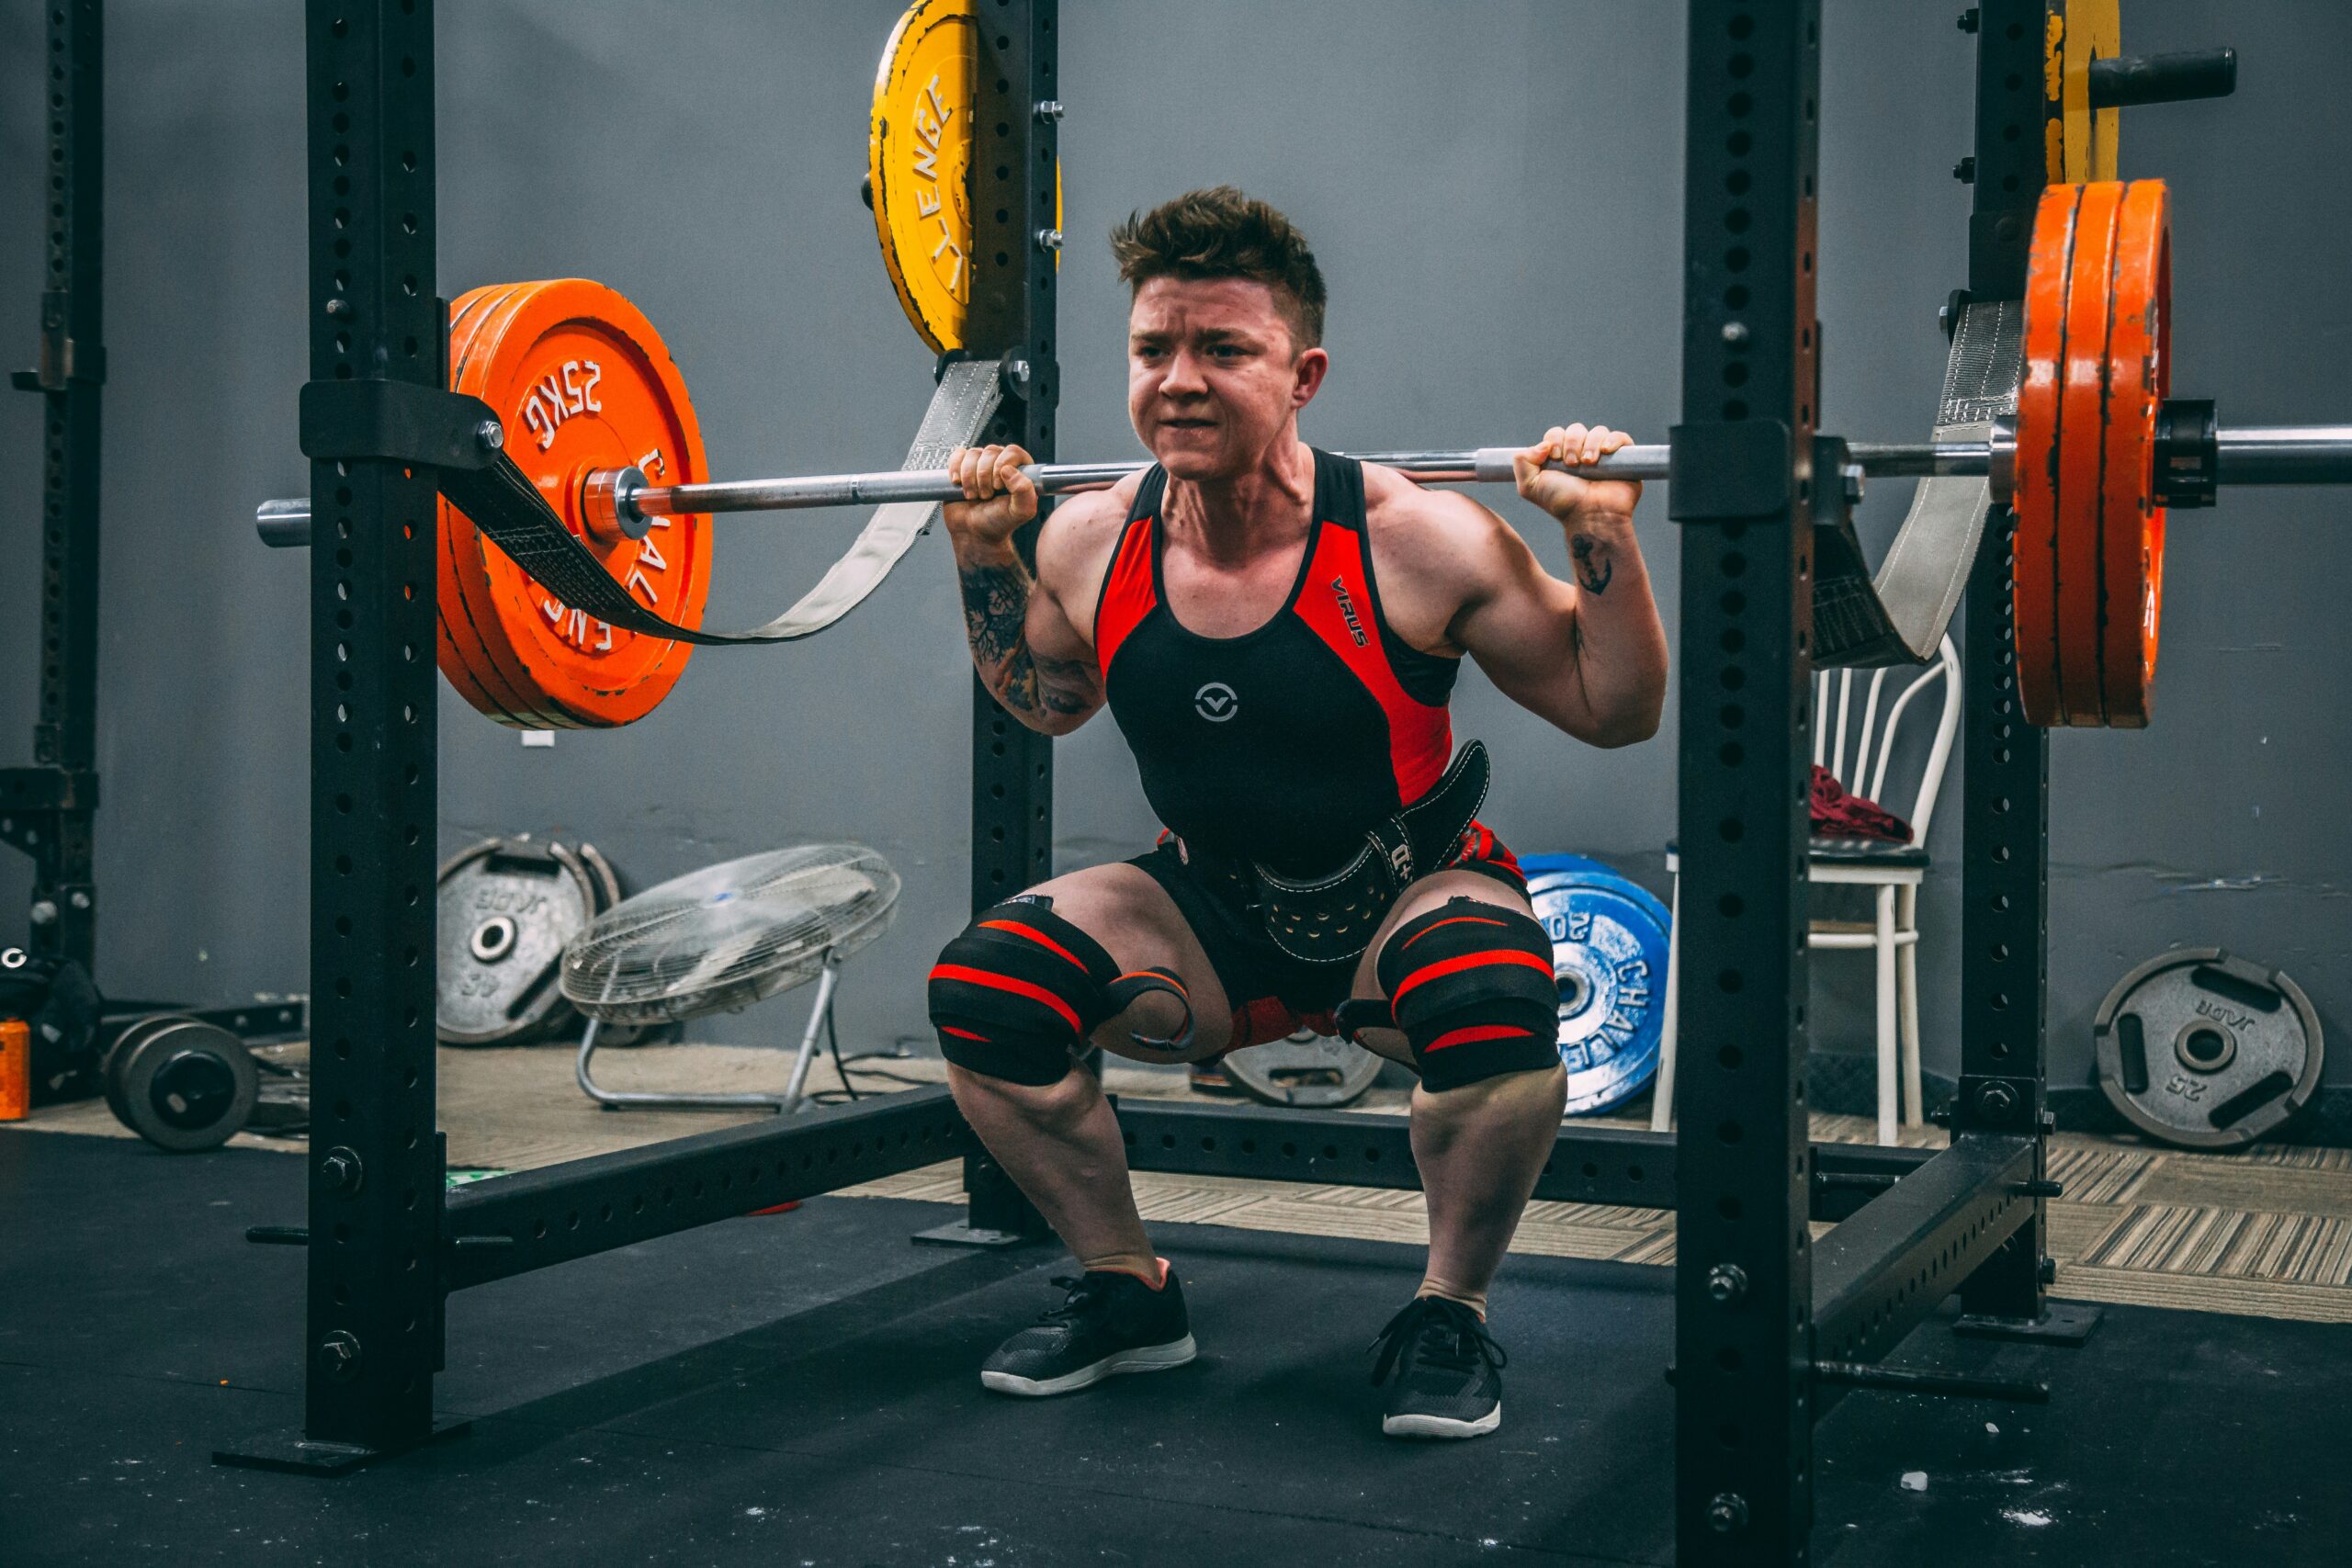
Spend five minutes getting your blood flowing. Light cardio or dynamic stretches prepare your joints for movement. This step reduces injury risk and improves your range of motion for the lifts ahead.
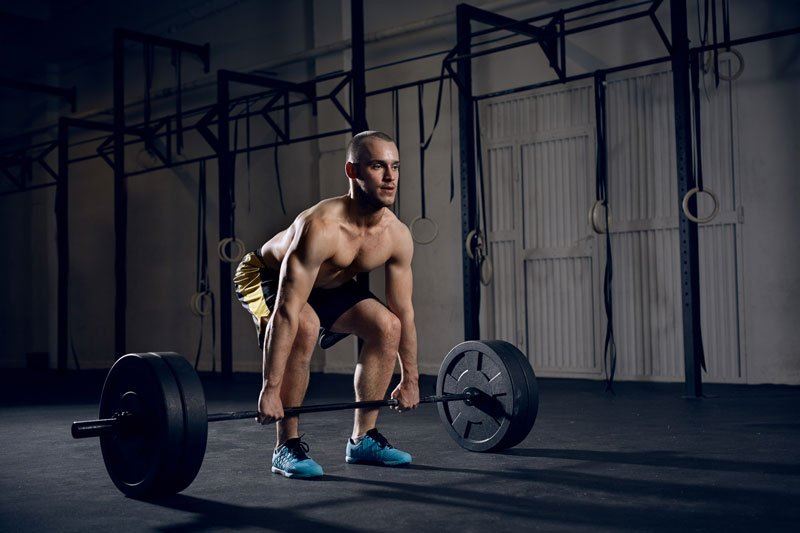
Choose three to four core exercises. A solid starter stack includes goblet squats, dumbbell presses, and rows. Perform two to three sets of eight to ten repetitions for each. Rest two minutes between sets to recover fully.
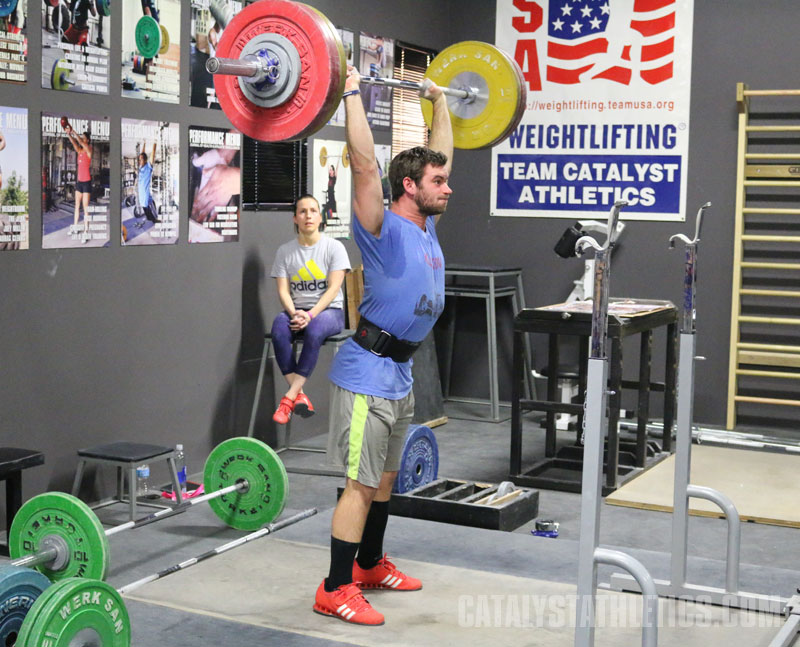
End your session with five minutes of static stretching. Focus on the muscles you just worked, such as your hamstrings, chest, and back. This helps reduce soreness and keeps your muscles flexible for your next session.
Consistency matters more than intensity in the beginning. Aim to complete your scheduled workouts for at least four weeks before tweaking the plan. Once the movements feel natural, you can gradually increase the weight or add a fourth day to your split.
No comments yet. Be the first to share your thoughts!