
The shift toward micro-recovery
Standard advice usually involves shaking out your limbs or static stretching between sets. While these habits are common, they don't always match the high-intensity demands of modern strength programs. If you are pushing sets to failure, your rest periods need to be more than just dead time.
What's changing is a focus on what happens between sets – what we now call 'micro-recovery'. This isn't about long cool-downs or dedicated rest days; it's about optimizing your body's ability to bounce back during your workout. It’s a subtle shift, but a powerful one. Many lifters are still stuck in old recovery habits, assuming a minute or two of rest and a sip of water is sufficient.
The traditional approach of static stretching, while beneficial for flexibility, can actually impede performance in the short term. Research suggests it can temporarily reduce force production. We need strategies that actively address the physiological stressors of lifting, not just passively wait for them to subside. This means thinking about recovery as an active process, integrated into your weightlifting workouts, not a separate event.
The goal of micro-recovery is to minimize fatigue accumulation and maintain performance across multiple sets. It’s about enhancing your body’s natural recovery mechanisms, allowing you to lift heavier, for more reps, and ultimately, see better gains. It’s a mindset shift, recognizing that recovery isn’t simply the absence of work, but a complementary process.

Neuromuscular flushing between sets
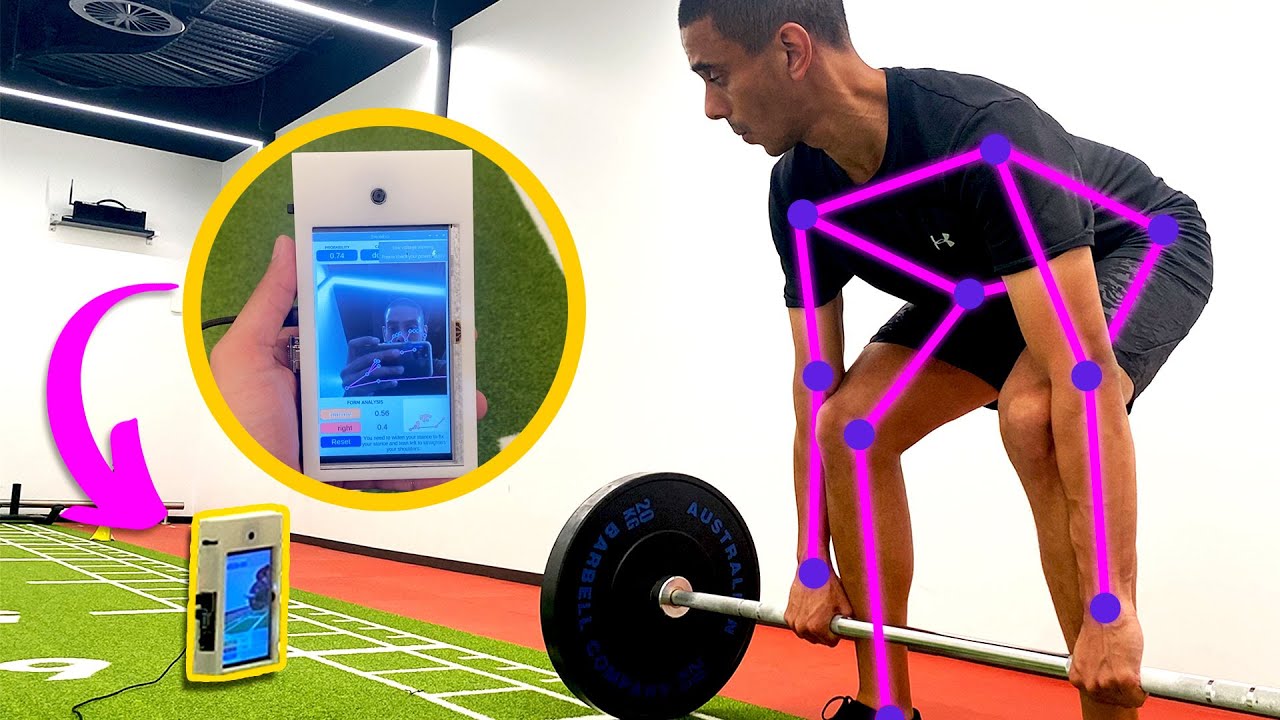
The bottleneck in a heavy set is often neuromuscular fatigue rather than local muscle failure. Metabolites like hydrogen ions accumulate, and nerve impulses slow down. I think of it as a temporary communication lag between the brain and the muscle fibers that needs clearing before the next set.
"Flushing’ refers to using targeted, low-intensity movements to increase blood flow and help remove these metabolic byproducts. It’s not about doing more of the same exercise; it’s about using complementary movements to actively promote recovery. The idea is to stimulate the muscles without adding significant additional fatigue. I"ve found this to be incredibly impactful, especially during higher-volume sessions.
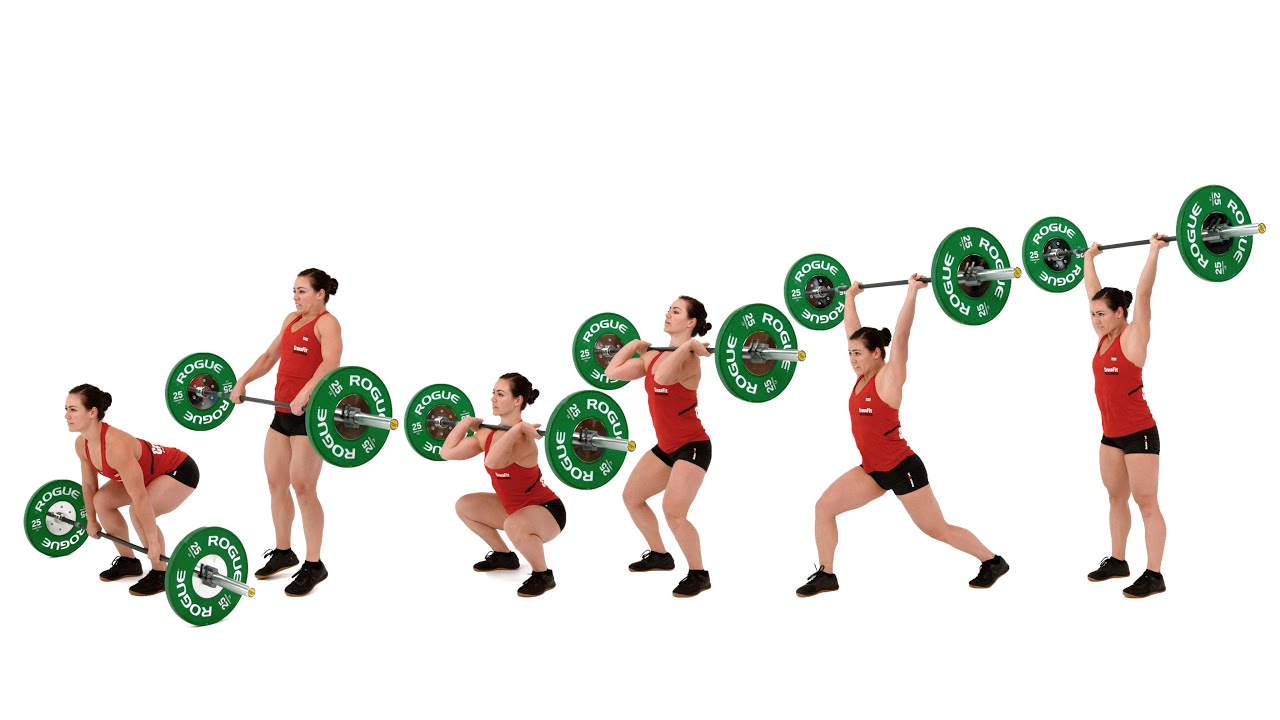
For example, after a heavy set of bench press, 15-20 band pull-aparts can help restore shoulder health and improve blood flow to the upper back. Following a set of squats, light leg extensions with a very manageable weight can help flush the quads. After a heavy pull-up set, a few slow, controlled lat pulldowns with minimal resistance can stimulate recovery in the lats.
Here are a few more examples: after barbell rows, perform face pulls. After overhead press, do external rotations with light dumbbells. After bicep curls, try wrist curls. The key is to choose movements that target the same muscle groups, but in a less demanding way. Keep the reps relatively high – 15-20 – and focus on controlled movements.
Active vs. passive rest
You can either sit still (passive rest) or keep moving (active rest). While sitting on a bench is the default for most, I've found that light movement keeps the system primed. A 2010 study in the Journal of Strength and Conditioning Research found that active recovery helped maintain power output better than sitting still.
Studies have shown that active recovery can help clear metabolic waste products more efficiently than passive recovery. This is because light movement increases blood flow, aiding in the removal of lactate and other byproducts. It also helps maintain muscle temperature, which can improve muscle elasticity and reduce the risk of injury. It’s not about pushing yourself; it’s about promoting circulation.
However, individual responses vary significantly. Some lifters may find that active recovery is too taxing and prefer the simplicity of passive recovery. The best approach depends on your training intensity, volume, and individual physiology. Listen to your body. If you feel more fatigued with active recovery, switch to passive recovery. This isn’t a one-size-fits-all situation.
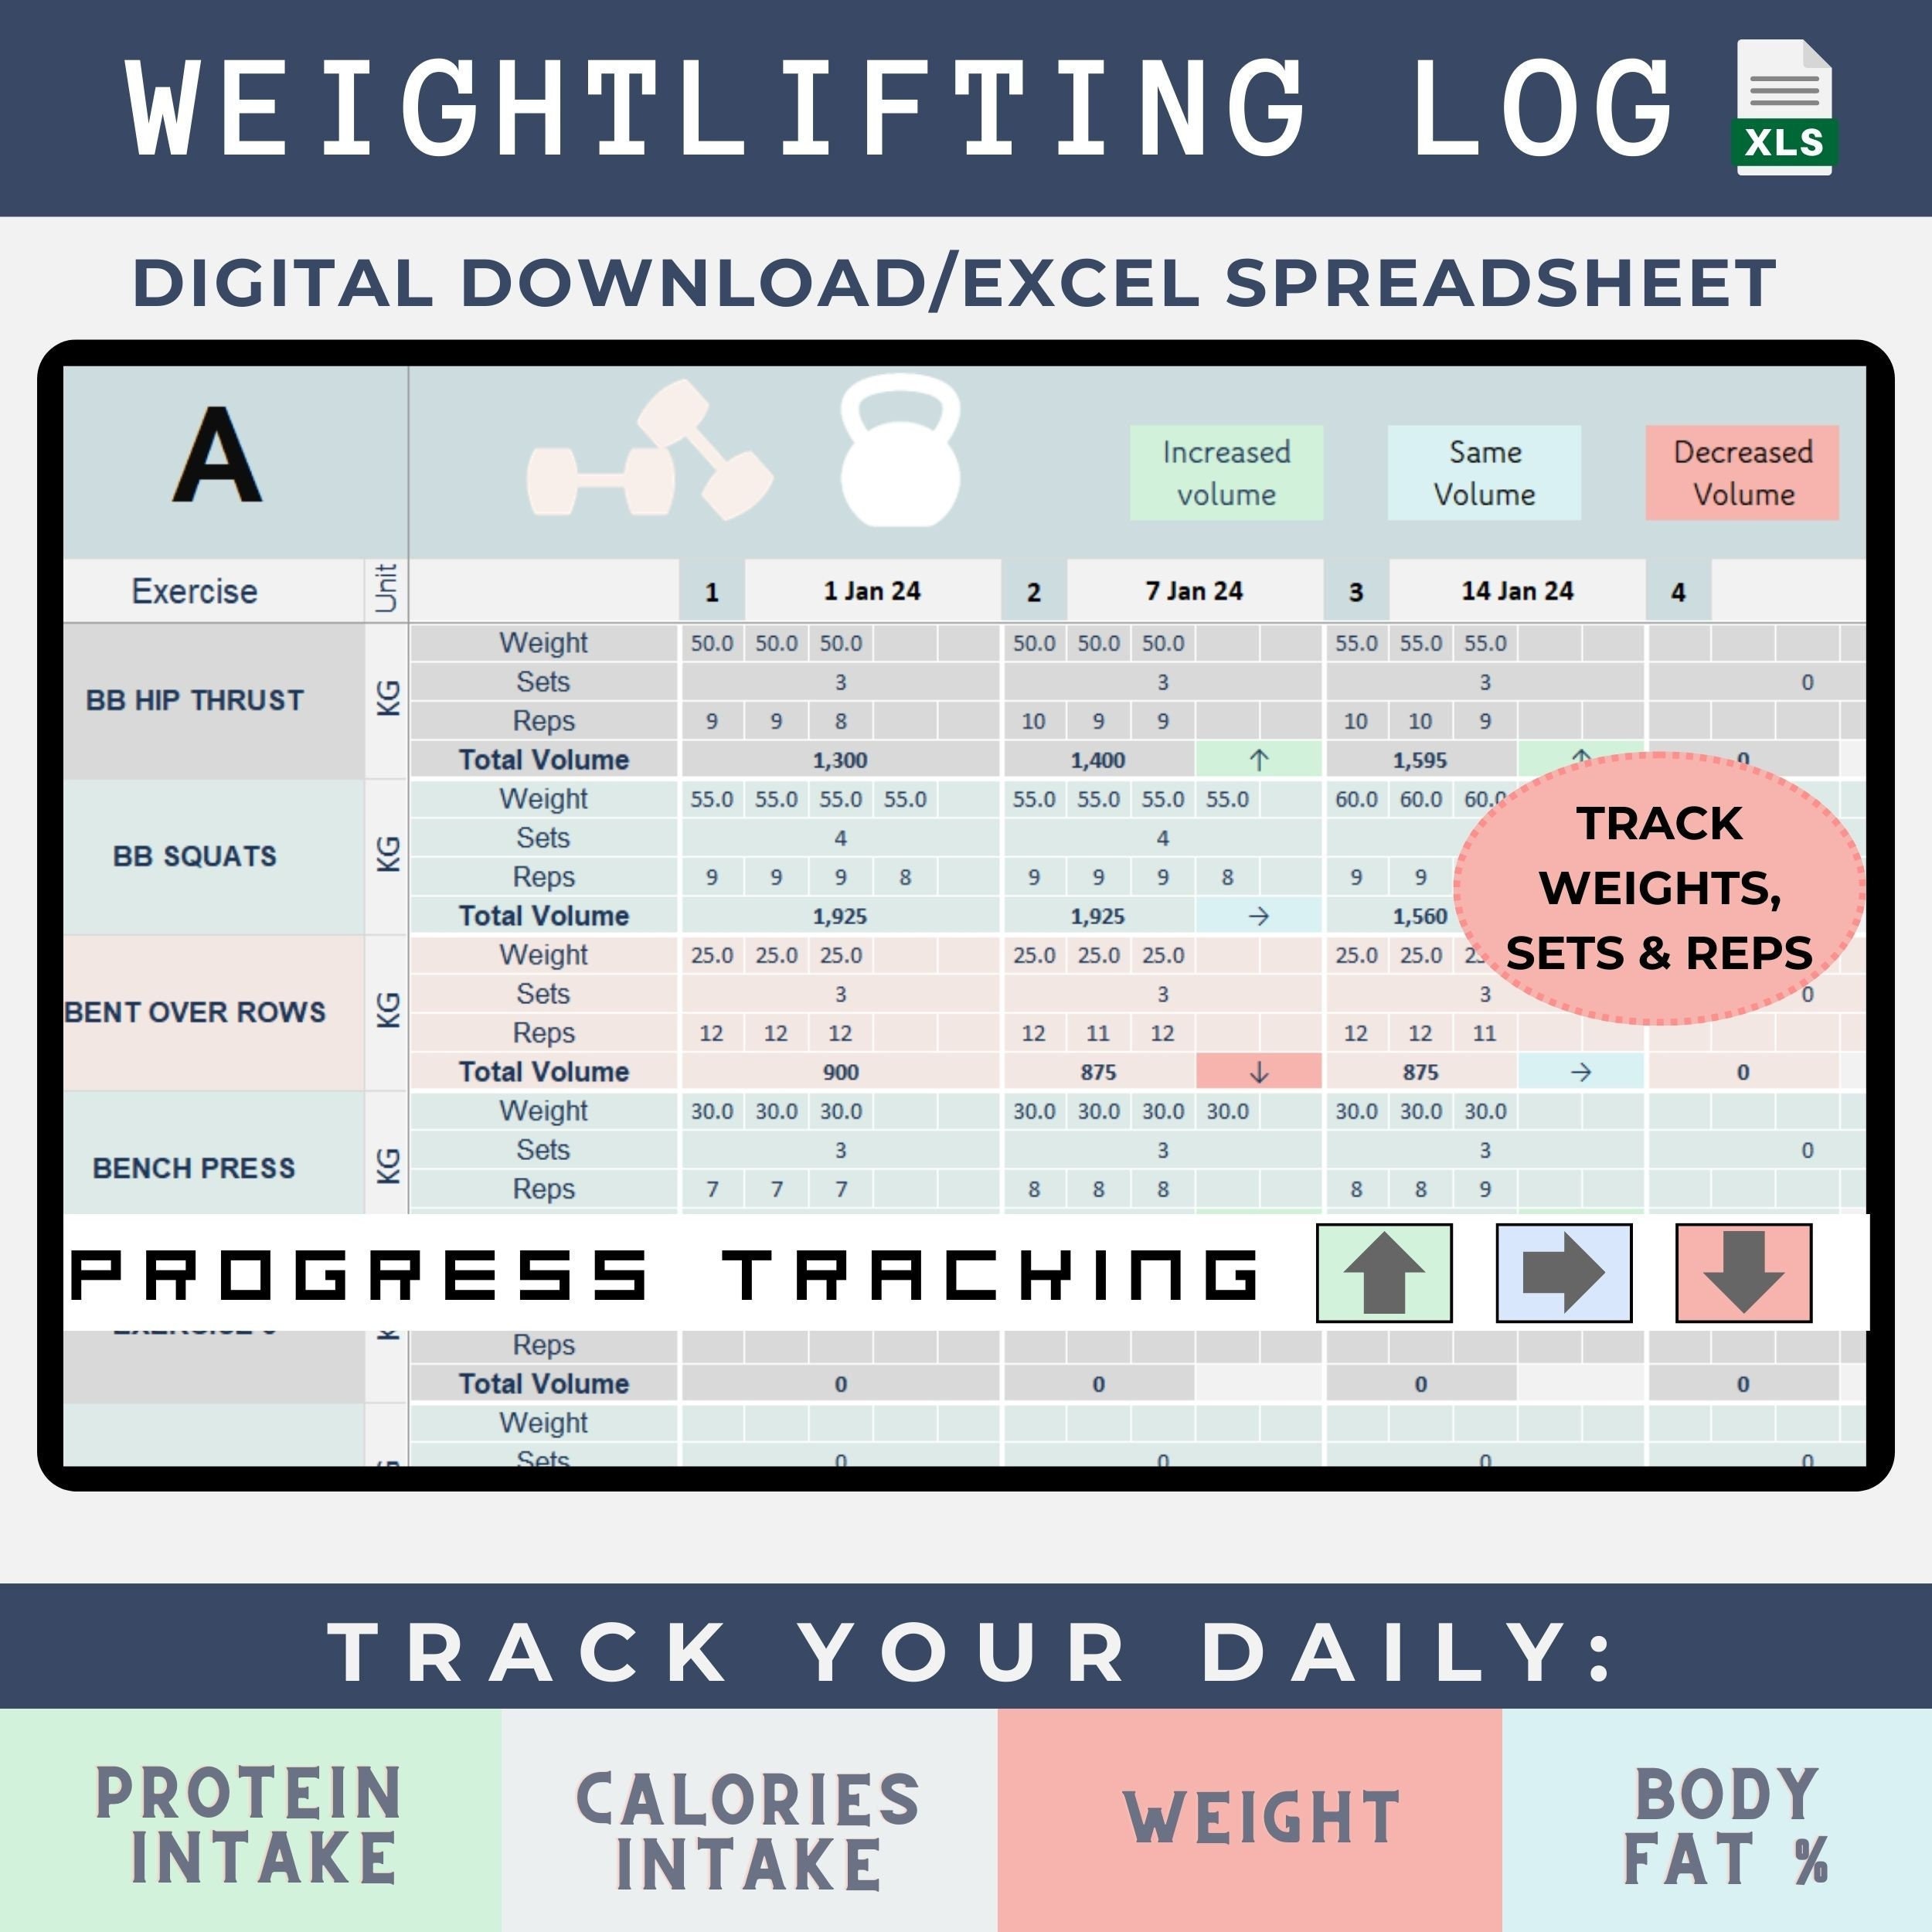
A good starting point is to experiment. Try incorporating short bursts of active recovery – like light cardio or mobility work – between sets for a few workouts and see how you feel. Track your performance and recovery metrics, such as rate of perceived exertion (RPE) and muscle soreness, to determine what works best for you.
Optimize Your Rest: Active vs. Passive Recovery for Weightlifting
Micro-recovery – the strategies you employ *between* sets – is becoming increasingly crucial for maximizing strength gains. But the 'best' approach isn’t one-size-fits-all. This quick quiz will help you determine whether active recovery (light movement) or passive recovery (complete rest) is likely to be more beneficial for *you*, based on your training style and experience. Answer honestly to get the most useful insight!
Intra-set nutrition adjustments
Hydration is always the priority, but recovery nutrition between sets goes beyond just water. For longer sets or high-volume workouts, consider incorporating small, easily digestible carbohydrate sources. The idea is to quickly replenish glycogen stores and maintain blood glucose levels.
I use about 5-10 grams of dextrose or honey. These simple sugars hit the bloodstream fast. I'd stay away from fiber or complex carbs here because they sit in the gut too long. I'm still playing with the exact dosage, but the immediate energy bump is noticeable.
Don't overlook electrolytes. Heavy lifting leads to sweat loss, and with it, the loss of essential electrolytes like sodium, potassium, and magnesium. Replenishing these electrolytes can help maintain muscle function and prevent cramping. A sports drink or electrolyte tablet can be helpful, but be mindful of added sugars.
The timing is also important. Consume these carbs and electrolytes during longer sets, or immediately after. Don’t wait until your next meal. This is about providing your body with the fuel it needs in the moment to sustain performance and accelerate recovery. Remember, the goal is to micro-adjust, not to have a full meal between sets.
Breathwork for recovery
Controlled breathing exercises are a powerful, often overlooked, tool for enhancing recovery. Deep, diaphragmatic breathing activates the parasympathetic nervous system – your body’s "rest and digest" system – which counteracts the stress response triggered by intense exercise. This can help lower heart rate, reduce blood pressure, and promote relaxation.
One effective technique is diaphragmatic breathing. Place one hand on your chest and the other on your abdomen. Inhale deeply through your nose, focusing on expanding your abdomen rather than your chest. Exhale slowly through your mouth. Repeat this for 5-10 breaths between sets. This encourages full lung expansion and maximizes oxygen intake.
Another useful technique is box breathing. Inhale for a count of four, hold your breath for a count of four, exhale for a count of four, and hold your breath again for a count of four. Repeat this cycle for several rounds. This helps regulate your breathing and calm your nervous system. I’ve found this particularly helpful during challenging sets.
The beauty of breathwork is that it’s free, accessible, and can be done anywhere. It requires no equipment and can be easily incorporated into your existing routine. Even a few minutes of focused breathing between sets can make a noticeable difference in your recovery and overall performance.
Recovery tech and gear
There's a growing market of gear and technology marketed for recovery, but it’s important to be realistic about their benefits. Compression sleeves can help improve blood flow and reduce muscle soreness, but their effect is relatively modest. They are a useful supplement, not a magic bullet.
Massage guns, like the Theragun or Hypervolt, can provide temporary relief from muscle tension and soreness. They can be helpful for targeting specific muscle groups, but they shouldn’t be used as a substitute for proper warm-up and cool-down routines. I’m somewhat skeptical of the higher-end models that come with a hefty price tag.
Wearable sensors, such as heart rate variability (HRV) monitors, can provide insights into your body’s recovery status. HRV measures the variation in time between heartbeats, which can be an indicator of stress and fatigue. However, interpreting HRV data can be complex, and it's not always accurate. They can be useful for tracking trends, but don't rely on them exclusively.
Ultimately, the most effective micro-recovery tools are the ones you’ll actually use consistently. Don’t get caught up in the hype surrounding expensive gadgets. Focus on building a solid foundation of active recovery, nutrition, and breathwork, and then consider adding these tools as needed.

No comments yet. Be the first to share your thoughts!